Creating a punch card of MapLesotho Mappers

Dublin Transport map creator. Mapper. Open Data guy. Busting into the spatial planning & GIS world one step at a time.
So today I decided I would dig into the details of the number of changesets committed by each user to OSM in covering Lesotho. I was reading an interesting post over on the development seed blog on a new command line tool they had developed called osm-meta-tool to extract information from the OSM minutely changeset files.
So I promptly went off and downloaded there code from Github (osm-meta-util) to see could I repurpose it to process the daily diff files for Lesotho provided by geofabrik. I have forked the osm-meta-util project and modified it for use with the Lesotho data. You can get hold of the source at github.com/rustyb/osm-meta-util.
I should point out i got blocked from the geofabrik server for too many requests like an idiot, make sure you set a suitable time delay between requests.
Anyway enough about my sillyness. What tools are we going to use today?
- osm-meta-util + jq
- Python Pandas - for the analysis
- D3.js Punch Card
Ok so the first thing was to decide for what days to prepare the simple punchcard. GeoFabrik have been creating daily diffs for Lesotho since the 30th of January this year. I want to have all the days we have so far. To do this we can go to our osm-meta-util folder and run the cmd.js example with some switches:
node examples/cmd.js 1 49 10000 | jq -c '{user:.user, changeset: .changeset, version: .version, timestamp: .timestamp}' > lesotho.json
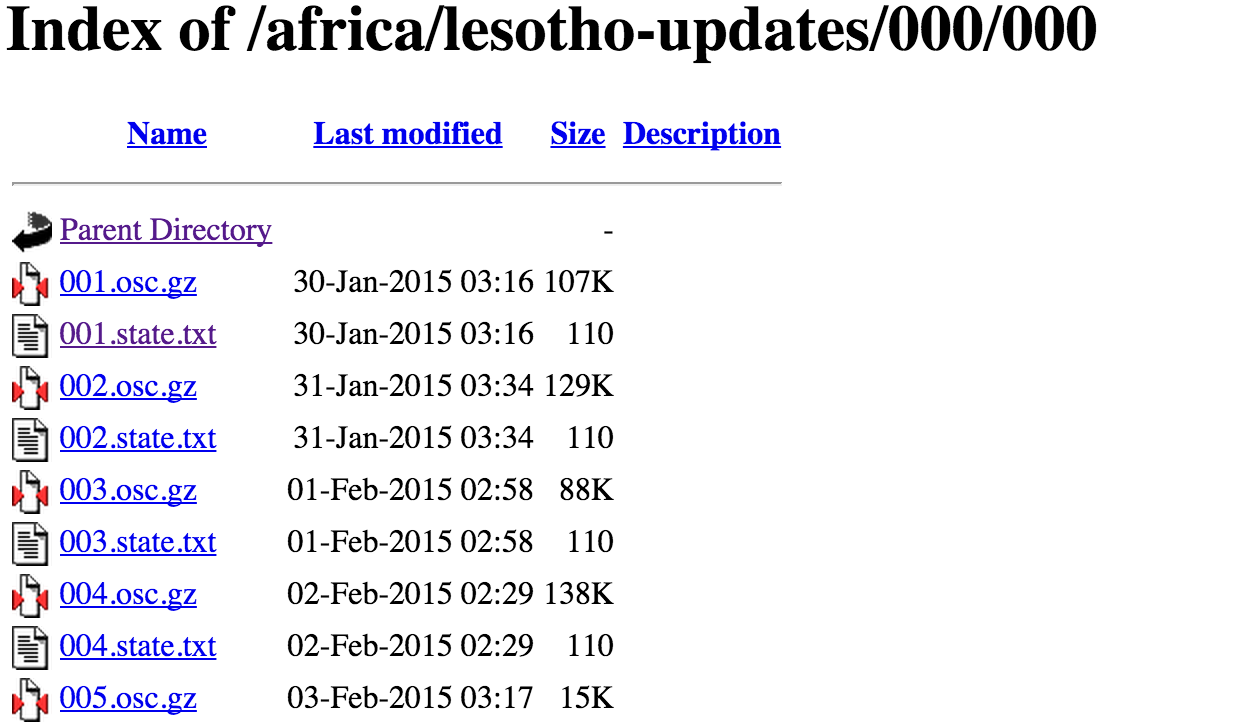
This query will then go and stream all the .osc.gz files starting with 001.osc.gz (30/01/15) and finishing with 049.osc.gz (19/03/15). It will wait 10 second between each file request so we do not overload the server and get blocked as I did.
The contents of a .osc.gz file look like the following. Between create, modify and delete tags are the nodes or ways which have been created, modified or deleted. In some cases as with the one below tag information will be present between the <node></node> tags. I am only interested in getting the username, the timestamp and the changeset number.
<modify>
  <node id="2946016397" version="2" timestamp="2015-03-16T21:56:17Z" uid="1932826" user="DeBigC" changeset="29528496" lat="-30.481495" lon="27.6335444">
    <tag k="ford" v="yes"/>
</node>
What happens when we run the previous command is that each XML file is read all the lines which represent a node or way are then extracted and converted into JSON and piped to jq where the attributes we want are extracted.
We now have a the JSON file lesotho.json which contains all of our JSON objects. However you’ll notice that this is not valid json as our objects need to be contained in a JSON array.
{"user":"bjoernchr74","changeset":"6837525","version":"1","timestamp":"2015-02-14T01:35:09Z"}
{"user":"tshedy","changeset":"28823174","version":"2","timestamp":"2015-02-13T15:10:28Z"}
{"user":"tshedy","changeset":"28823174","version":"2","timestamp":"2015-02-13T15:10:28Z"}
{"user":"tshedy","changeset":"28823174","version":"2","timestamp":"2015-02-13T15:10:28Z"}
{"user":"Moseme","changeset":"8785233","version":"1","timestamp":"2015-02-14T01:35:09Z"}
To fix this we will first use awk to add commas to the end of all our lines.
awk '{print $0","}' lesotho.json > lesotho.json
Next we need to open the file and add a [ to the first line of the file.
Then at the last line we can delete the very last , and then add at ] to close our array. I really must find a more programatic way of doing this. Suggestions welcome!
Pandas Time
Now that we have some valide JSON we can then import this into pandas using df.read_json()
import pandas as pd
import numpy as np

les = pd.read_json('lesotho.json') # import the json file to a dataframe
les.timestamp = pd.to_datetime(les['timestamp']) # convert timestamp to date time index
les.set_index(les.timestamp, inplace=True) # make time the index
You can see above that we have setup a time index a very powerful feature of pandas that will allow us to group all our results by the days of the week as we desire to create punch card for each user. Next we add a new column to the database called day which contains an integer for the weekday 0=Monday and 6=Sunday.
>>> les['day'] = les.index.weekday # add weekday column with integer for day of the week
>>> les.head()
                     changeset           timestamp         user  version  day
timestamp
2015-02-14 01:35:09    6837525 2015-02-14 01:35:09  bjoernchr74        1    5
2015-02-13 15:10:28   28823174 2015-02-13 15:10:28       tshedy        2    4
2015-02-13 15:10:28   28823174 2015-02-13 15:10:28       tshedy        2    4
2015-02-13 15:10:28   28823174 2015-02-13 15:10:28       tshedy        2    4
2015-02-14 01:35:09    8785233 2015-02-14 01:35:09       Moseme        1    5
Next we will group our results by the weekday first and then the user, which will then allow us to count the number of unique change sets made by each user. We make use of pandas .groupby() function here:
res = les.groupby(['day', 'user']).changeset.nunique().unstack()

res.ix[:,0:5].head()
user  4rch  AE35  Adrian Frith  Alecs01  Alex24223
day
0      NaN    11           NaN      NaN        NaN
1      NaN     4           NaN      NaN          1
2      NaN     1             1      NaN        NaN
3        9     3           NaN      NaN        NaN
4      NaN     1           NaN      NaN        NaN
We can see now we have a dataframe where the days are on the X-Axis meanwhile the usernames are on the y axis. It would look better and be easier to interpret if we have the names on the x-axis and the days as the columns. .unstack turns our multi-index list returned by .groupby into a table which we can easily interpret.
Luckily this is really easy with pandas we can use the .transpose() to flip our matrix.
res1 = res.transpose()
Also it would look better to have mon-sun instead of 0-6.
res1.columns = ['mon', 'tue', 'wed', 'thu', 'fri', 'sat', 'sun']
Now finally we would like a grand total of changesets for each user. This again is easy we use .sum() and add a new column total. The use of axis=1 is telling sum to use rows rather than columns (axis=0)
res1['total'] = res1.sum(axis=1)

res1.head()
              mon  tue  wed  thu  fri  sat  sun  total
user
4rch          NaN  NaN  NaN    9  NaN  NaN  NaN      9
AE35           11    4    1    3    1    1    1     22
Adrian Frith  NaN  NaN    1  NaN  NaN    1  NaN      2
Alecs01       NaN  NaN  NaN  NaN  NaN    1  NaN      1
Alex24223     NaN    1  NaN  NaN  NaN  NaN  NaN      1
Now we can do some nice things like quickly find out what are the total number of changesets on each day of the week. As you can see Monday is the day with the most changesets since January.
res1.count().order(ascending=False)

total    207
mon      110
tue       79
sat       60
wed       52
fri       49
sun       46
thu       43
dtype: int64
However if we look at the mean we can see that sunday in fact has a higher average number of changes than the other days.
res1.mean().order(ascending=False)

total    14.497585
sun       8.804348
fri       7.938776
sat       7.133333
tue       6.822785
mon       6.427273
wed       5.961538
thu       5.186047
dtype: float64
Now we will export this as a csv file so that we can visualize the users punchcards for each day of the week. This is another simple action. simply use .to_csv to do so.
res1.reset_index().to_csv('les_data.csv', encoding='utf-8', index=False, na_rep=0)
The csv file containing all of the counts is available from github - LesothoUserChanges.csv
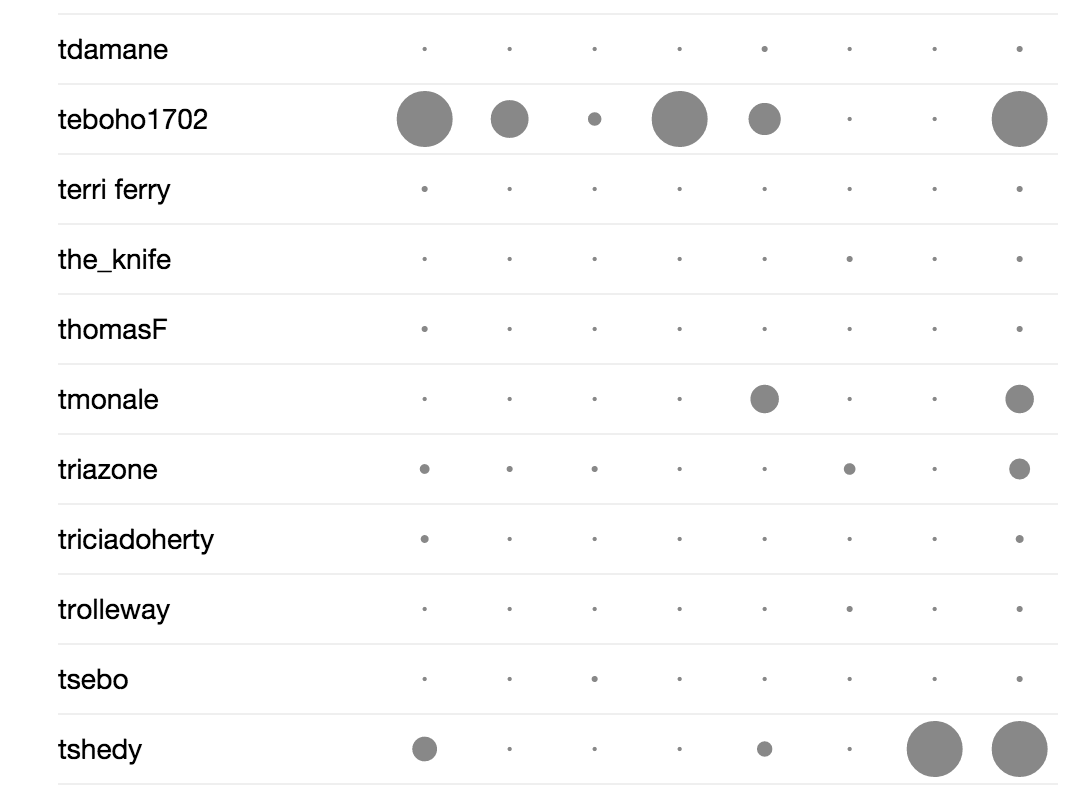
The Lesotho OSM PunchCard
A quick seach on google came up with a simple d3.js script called D3.js Punch Card which will produce a punch card just like those in your github repositories.
This still needs to be improved to sort out the total column to show a number all the time rather than another circle.
So there you have it an extremely long winded way of make a punchcard of the OSM users in your country.

"Creating a punch card of MapLesotho Mappers"